环境:Ubuntu 20.04
准备工作
安装依赖
apt update -y && apt install unzip apache2 mariadb-server sendmail php php-curl php-xml php-gd php-mysql -y
上传资料
首先到官网 下载 资料包,并上传到需要部署的服务器。
unzip whmcs_v851_full.zip
mv whmcs/configuration.php.new whmcs/configuration.php
mkdir -p /data/www/default/
mv whmcs /data/www/default/
mv /var/www/html /data/www/default/
权限设置
chown -R www-data:www-data /data/www/default
chmod 755 /data/www/default/whmcs
chmod 444 /data/www/default/whmcs/configuration.php
访问设置
编辑/etc/apache2/apache2.conf配置文件
授权 Web 目录
<Directory /data/www/default>
        Options Indexes FollowSymLinks
        AllowOverride None
        Require all granted
</Directory>
启用.htaccess
<Directory />
        Options FollowSymLinks
        AllowOverride All
        Require all denied
</Directory>
AccessFileName .htaccess
禁用/vendor访问
<Directory /data/www/default/whmcs/vendor>
        AllowOverride All
        Require all denied
</Directory>
配置 MariaDB
空密码进入数据库后
mysql> create database whmcs;
mysql> grant all privileges on whmcs.* to "whmcs"@"localhost" identified by "123456" with grant option;
mysql> flush privileges;
安装 ionCube
wget http://downloads3.ioncube.com/loader_downloads/ioncube_loaders_lin_x86-64.tar.gz
tar xzf ioncube_loaders_lin_x86-64.tar.gz -C /usr/local
PHP 配置 ionCube Loader
find / -name "php.ini"

/etc/php/7.4/apache2/php.ini
/etc/php/7.4/cli/php.ini
在上述找到的配置文件中,均添加如下配置
zend_extension = /usr/local/ioncube/ioncube_loader_lin_7.4.so
date.timezone = Asia/Hong_Kong
/usr/local/ioncube/ioncube_loader_lin_xxx.so,xxx 的内容需要根据你当前安装的 PHP 版本进行填写。
开始安装
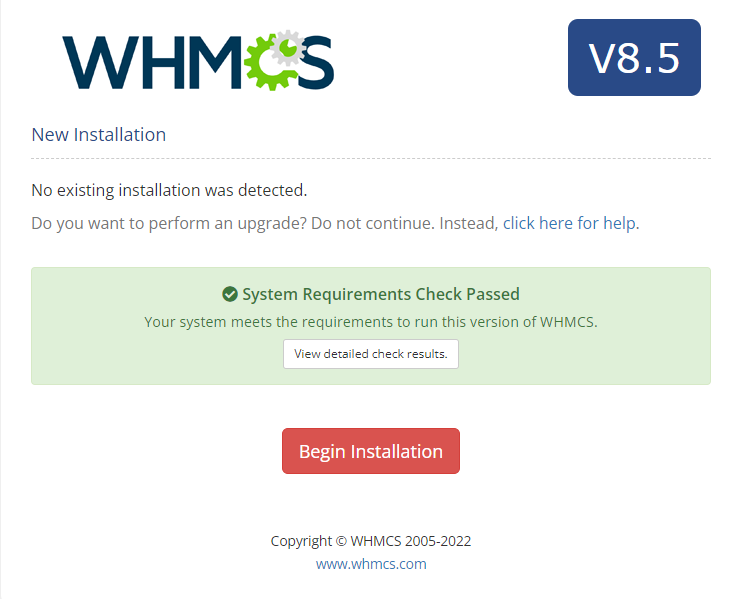
浏览器访问http://your_external_ip/whmcs/install/install.php
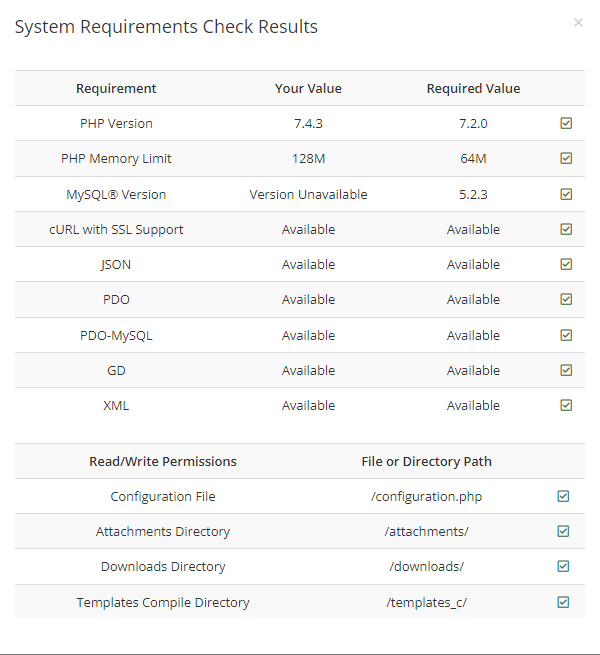
经过上述准备工作之后,这里的依赖检测基本都能通过。
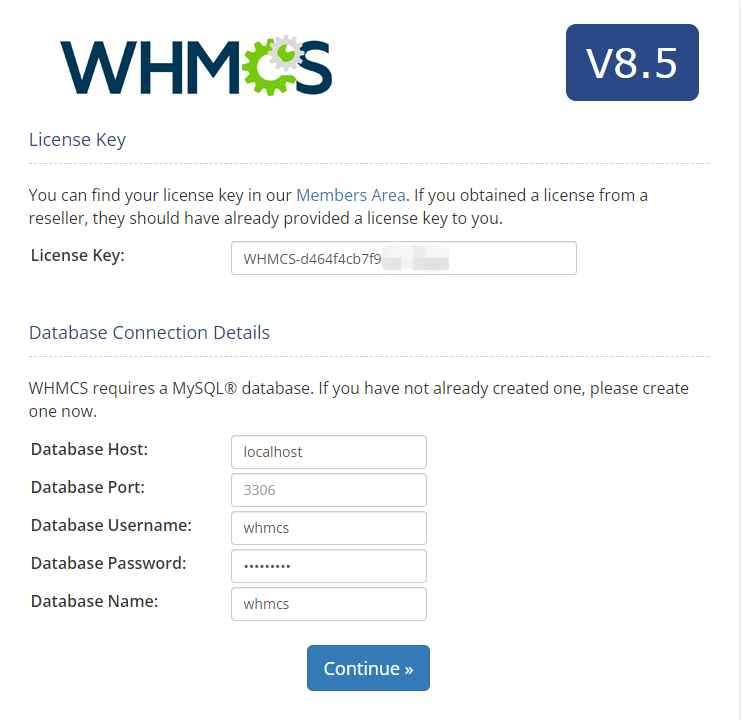
填入授权码和数据库信息。
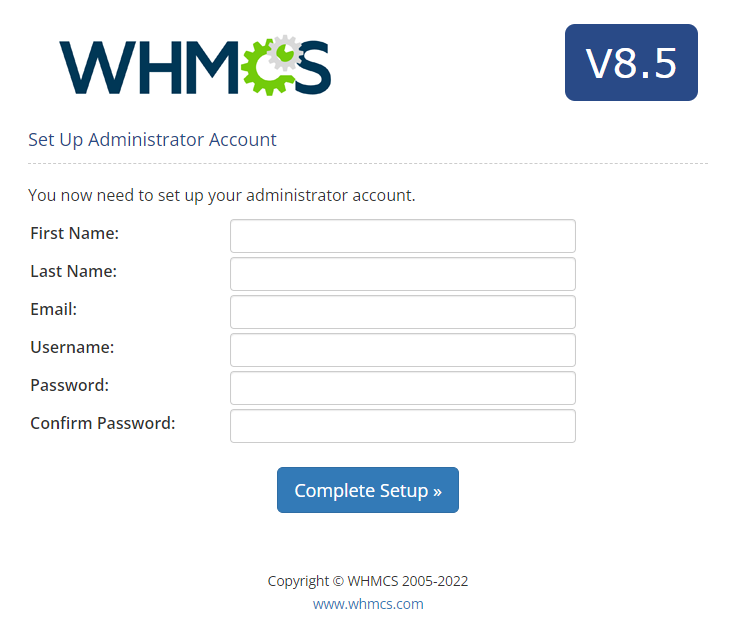
设置后台管理员账户。
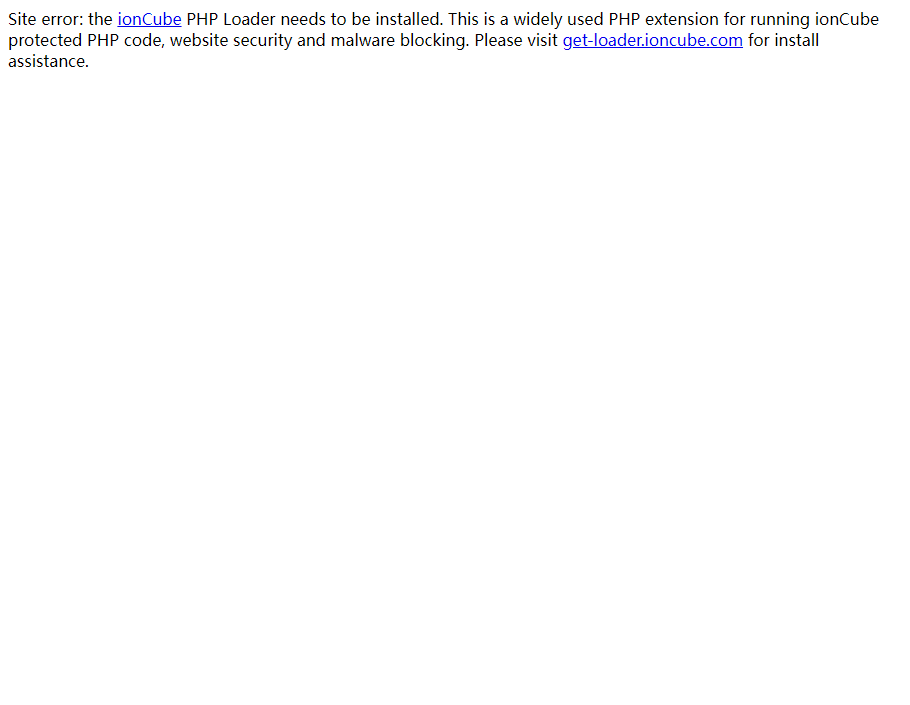
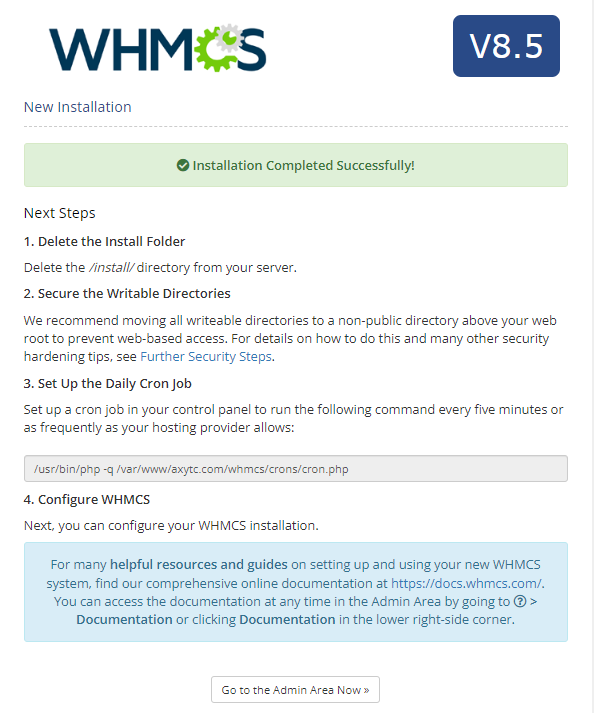
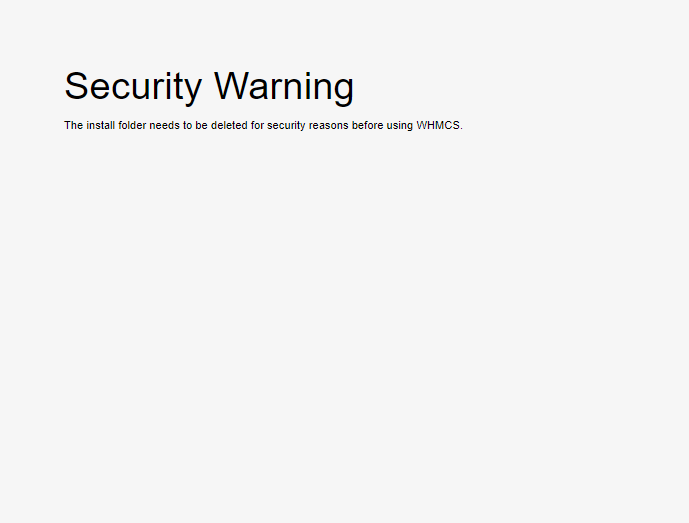
安装成功后需要删除whmcs目录下的install目录,否则访问主页会提示:
添加定时任务
编辑/etc/cron.d/php文件,添加一条定时任务。
*/5 * * * * root /usr/bin/php -q /data/www/default/whmcs/crons/cron.php
绑定域名访问
如果在注册WHMCS账号并购买授权码的时候,绑定的是域名,则访问后台管理页面时,必须通过该域名才能访问。若授权码绑定的是 IP ,也需要将其绑定到ServerName上才能通过该 IP 进行访问。
后台管理页面入口:http://your_domain/admin
编辑/etc/apache2/sites-available/default.conf配置文件
<VirtualHost *:80>
        ServerName your_domain
        ServerAdmin admin@livejq.top

        DocumentRoot /data/www/default/whmcs
        ErrorLog ${APACHE_LOG_DIR}/error.log
        CustomLog ${APACHE_LOG_DIR}/access.log combined
</VirtualHost>
<VirtualHost *:80>
        ServerName your_external_ip
        ServerAdmin guest@livejq.top

        DocumentRoot /data/www/default/html
</VirtualHost>
检查配置
apache2ctl configtest
使上述配置生效
a2ensite default.conf
使用
a2ensite或a2dissite命令,使站点配置生效或失效。
至此,安装配置已全部完成。现在,你可以在域名解析上添加一条 A 记录,即可通过域名来访问WHMCS站点了。
配置 SSL
编辑或创建/etc/apache2/sites-available/default-ssl.conf配置文件
<VirtualHost *:443>
	# The ServerName directive sets the request scheme, hostname and port that
	# the server uses to identify itself. This is used when creating
	# redirection URLs. In the context of virtual hosts, the ServerName
	# specifies what hostname must appear in the request's Host: header to
	# match this virtual host. For the default virtual host (this file) this
	# value is not decisive as it is used as a last resort host regardless.
	# However, you must set it for any further virtual host explicitly.
	ServerName example.com
	ServerAlias www.example.com

	ServerAdmin admin@livejq.top
	DocumentRoot /data/www/default/whmcs

	# Available loglevels: trace8, ..., trace1, debug, info, notice, warn,
	# error, crit, alert, emerg.
	# It is also possible to configure the loglevel for particular
	# modules, e.g.
	#LogLevel info ssl:warn

	ErrorLog ${APACHE_LOG_DIR}/error-ssl.log
	CustomLog ${APACHE_LOG_DIR}/access-ssl.log combined

	# For most configuration files from conf-available/, which are
	# enabled or disabled at a global level, it is possible to
	# include a line for only one particular virtual host. For example the
	# following line enables the CGI configuration for this host only
	# after it has been globally disabled with "a2disconf".
	#Include conf-available/serve-cgi-bin.conf
	#<If "%{HTTP_HOST} == 'www.axytc.com'">
    	#	Redirect permanent / https://axytc.com/
  	#</If>

	SSLEngine on
	SSLCertificateKeyFile /data/www/default/whmcs/ssl/example.com.key
	SSLCertificateFile /data/www/default/whmcs/ssl/example.com.crt
</VirtualHost>
# vim: syntax=apache ts=4 sw=4 sts=4 sr noet
检查配置
apache2ctl configtest
使上述配置生效
a2ensite default-ssl.conf
Nginx 配置示例
创建并编辑/etc/nginx/conf.d/example.com.conf
#server {
#	listen 80;
#	server_name www.example.com example.com;
#	return 301 https://example.com$request_uri;
#}


server {
	listen 80;
	server_name example.com;
	root /data/www/default/whmcs;
    access_log /var/log/nginx/example.com-access_log;
    error_log /var/log/nginx/example.com-error_log;

	add_header X-Frame-Options "SAMEORIGIN";
	add_header X-XSS-Protection "1; mode=block";
	add_header X-Content-Type-Options "nosniff";
	add_header Strict-Transport-Security "max-age=31536000; includeSubDomains; preload" always;

	index index.php index.html index.htm;

	charset utf-8;

	location / {
		try_files $uri $uri/ /index.php?$query_string;
	}

	location = /favicon.ico { access_log off; log_not_found off; }
	location = /robots.txt  { access_log off; log_not_found off; }

	error_page 404 /index.php;


	proxy_send_timeout 300s;
	proxy_read_timeout 300s;


	location ~ \.php$ {
		fastcgi_pass unix:/run/php/php-fpm.sock;
		fastcgi_send_timeout 300;
	        fastcgi_read_timeout 300;
		fastcgi_index index.php;
		fastcgi_param SCRIPT_FILENAME $realpath_root$fastcgi_script_name;
		include fastcgi_params;
	}

        #location ^~ /\.well-known {
        #        deny all;
        #        return 403;
        #}

        #== WHMCS Security Advisory
        location ^~ /vendor/ {
                deny all;
                return 403;
        }

	location ~* \.(?:jpg|jpeg|gif|png|ico|cur|gz|svg|svgz|mp4|ogg|ogv|webm|htc|svg|woff|woff2|ttf)\$ {
		expires 1M;
		access_log off;
	        add_header Cache-Control "public";
	}

	location ~* \.(?:css|js)\$ {
	        expires 7d;
	        access_log off;
	        add_header Cache-Control "public";
	}

	location ~ /\.ht {
		deny  all;
	}
}

# HTTPS server
#
server {
	listen 443 ssl;
	server_name example.com;
	root /data/www/default/whmcs;
        access_log /var/log/nginx/example.com-ssl_access_log;
        error_log /var/log/nginx/example.com-ssl_error_log;

        add_header Strict-Transport-Security "max-age=31536000";
        add_header X-Frame-Options DENY;
        add_header X-Content-Type-Options nosniff;
        add_header X-Xss-Protection 1;
        add_header Vary User-Agent;

	index index.php index.html index.htm;

	charset utf-8;

	ssl_certificate /data/www/default/whmcs/ssl/example.com.crt;
	ssl_certificate_key /data/www/default/whmcs/ssl/example.com.key;

#        location ~ /whmcs/admin/(client!\.php|client/(.*)|search!\.php|search/(.*)|apps|billing|setup|user|services|addons|domains|utilities|logs|help!\.php|help/license|image/(recent|upload))/?(.*)$ {
#                rewrite ^/(.*)$ /whmcs/admin/index.php?rp=/admin/$1/$2;
#        }

	location / {
		try_files $uri $uri/ /index.php?$query_string;
	}

	location = /favicon.ico { access_log off; log_not_found off; }
	location = /robots.txt  { access_log off; log_not_found off; }

	error_page 404 /index.php;


	proxy_send_timeout 300s;
	proxy_read_timeout 300s;

        location ~ \.php$ {
                fastcgi_pass unix:/run/php/php-fpm.sock;
                fastcgi_send_timeout 300;
                fastcgi_read_timeout 300;
                fastcgi_index index.php;
                fastcgi_param SCRIPT_FILENAME $realpath_root$fastcgi_script_name;
                include fastcgi_params;
        }

        #location ~ /\.(?!well-known).* {
        #        deny all;
        #}


        #location ^~ /vendor/ {
        #        deny all;
        #       return 403;
        #}

        location ~* \.(?:jpg|jpeg|gif|png|ico|cur|gz|svg|svgz|mp4|ogg|ogv|webm|htc|svg|woff|woff2|ttf)\$ {
                expires 1M;
                access_log off;
                add_header Cache-Control "public";
        }

        location ~* \.(?:css|js)\$ {
                expires 7d;
                access_log off;
                add_header Cache-Control "public";
        }

        location ~ /\.ht {
                deny  all;
        }
}




评论区